B2B Company Controls – Instructions
Table of Contents
Managing Company Admins
Company admins are users in a company who can manage users and locations. Store owners (merchants) can add company admins.
To manage company admins, first open the company page, then select “More Actions” in the top right, and finally “Company Admin Editor”.

In the modal that pops up, you can see the assigned admins under “Admins” and other company users under “Add New Admin”. You can search users by name or email address.

To add a new admin, find the user you want to add under “Add New Admin” and click “+ Add”.
To remove an existing admin, find the user you want to remove as an admin, click the ellipsis menu, and click “Remove Admin”.

Company Location Status
To change the status of a company location, go to its location page, then scroll down to “Blocks” and under “Location Status” you can see the current status and update it. To override the regular flow, click “Override Status” at the bottom and select the new status you want the location to have.

A location can have the following statuses:
- Pending: a location that has been created by a customer and neither approved nor denied by the merchant; these locations cannot place orders nor have any customers assigned to them
- Approved: a location that has been approved by the merchant and can place orders and have customers assigned to it
- Disabled: a location that was formerly active but now cannot have any customers assigned to it nor place orders
- Denied: a location that was denied by the merchant after it was created, before it could submit any orders
Wholesaler Applications
After a customer submits a request to be a wholesaler, you can go to the company’s page in the Shopify admin to approve or deny it. When denying it, you will need to provide a reason.
If you approve a company, this does not automatically approve the location; you must also approve the location before the company can begin submitting orders.
When denying a company, you must provide a reason for denying it.
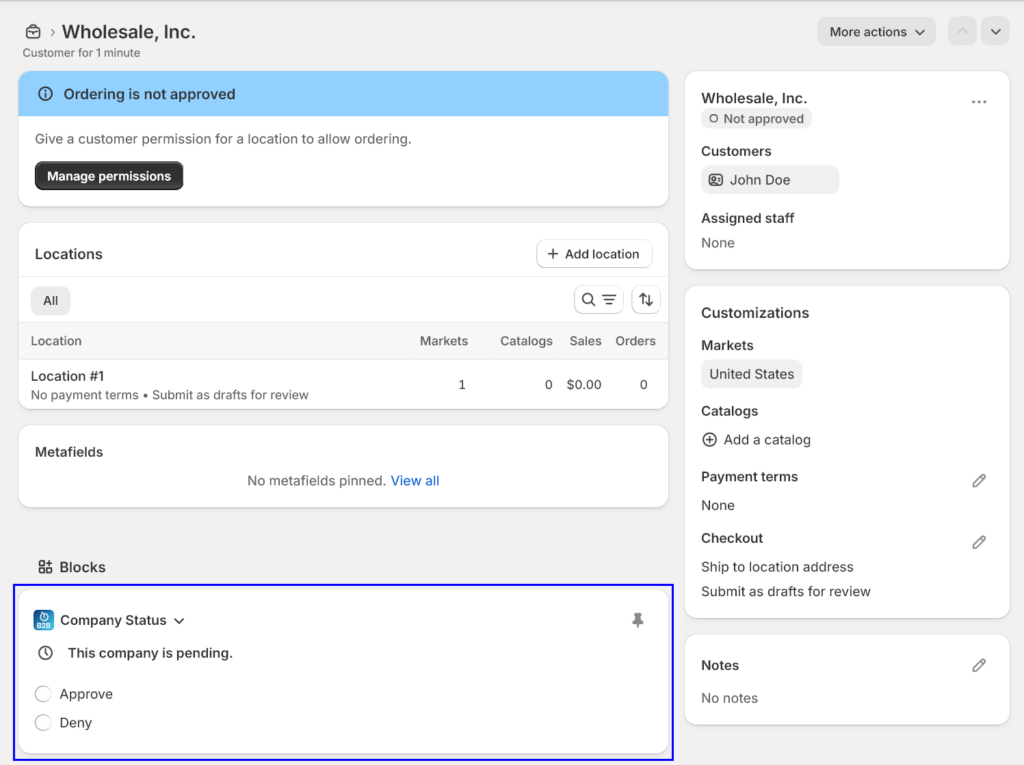
Once you approve a company, the person who submitted the order will automatically be set as a company admin and will be able to request additional locations and create users. However, the company will not be able to submit orders until a location is approved.
User Instructions
User and Location Management
After the merchant has created your store and set you as an admin, you can now manage your company’s users and locations. Once you’re on your profile page, select “User Management” or “Location Management” from the top menu to manage users and locations for your company, respectively.

User Management
The User Management portal allows you to manage users in your company and their permissions across various locations.
Listing Users
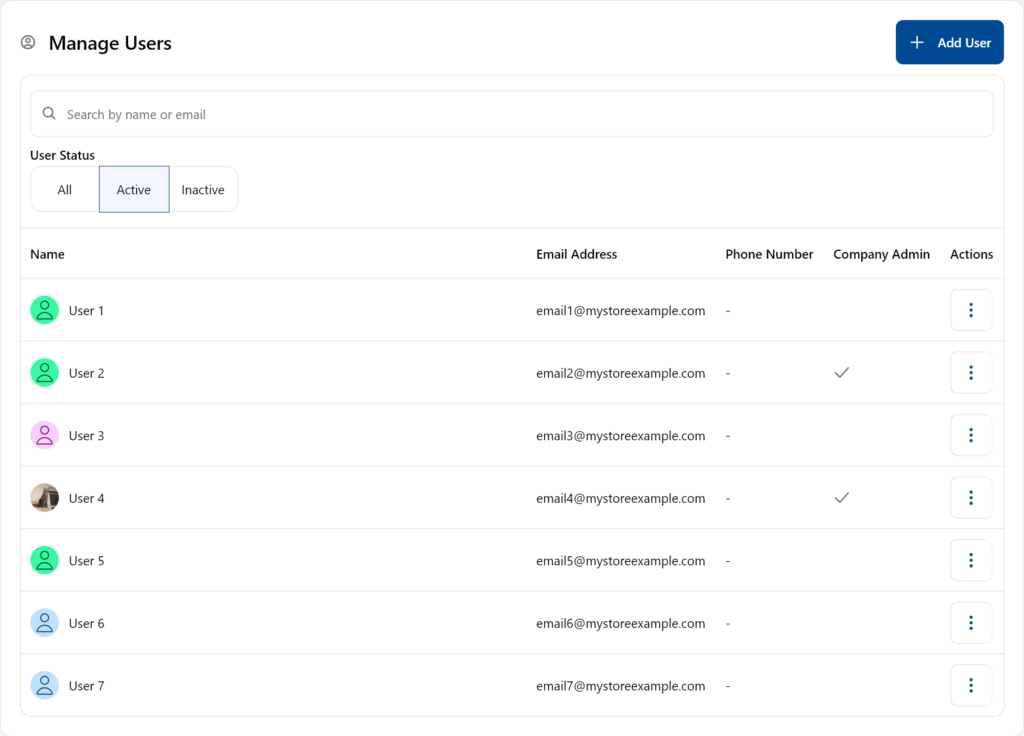
The start page of the user management portal lists all your company’s users, in alphabetical order by last name. Using the search bar at the top, you can filter users by name or email address. You can also filter users by status: Active means being assigned to at least one store, while Inactive means not assigned to any store.
Creating Users
To create a new user, select “Add User” at the top right.

Then, in the modal that opens, enter their contact information. Email, first name, and last name are required, while phone number is optional.

Once the user is created, note that they will not be assigned to any locations and will be inactive. This means they will not appear under the “Active” tab.
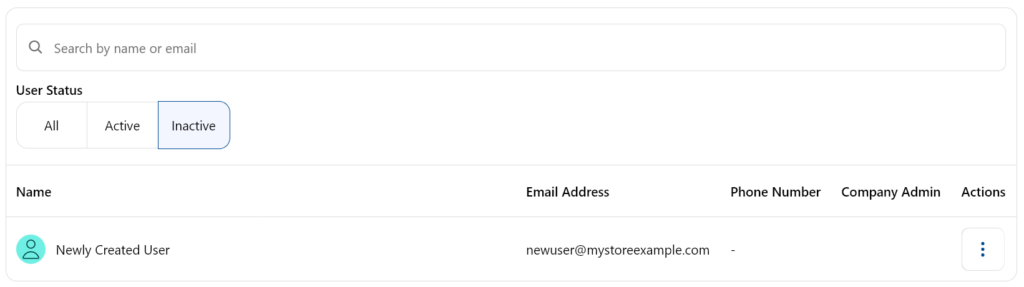
You can then assign them to locations, as detailed in the next section.
Editing Users
To edit a user, select the ellipsis button to the right of their email.

Once you select it, you will have the following options:
- Edit Contact Information: edit the user’s name, email address, and phone number
- Manage Locations: assign the user permissions at your business’s locations or update or unassign existing permissions
- Disable User: remove the user’s access to all locations

User Locations
To manage users at a location, click “Manage Users” from the ellipsis menu for that location. The column on the left lists all users who already have roles at the location, while the column on the right lists users who do not yet have assigned roles at that location. You can search by name or email to find the user you’re looking for.
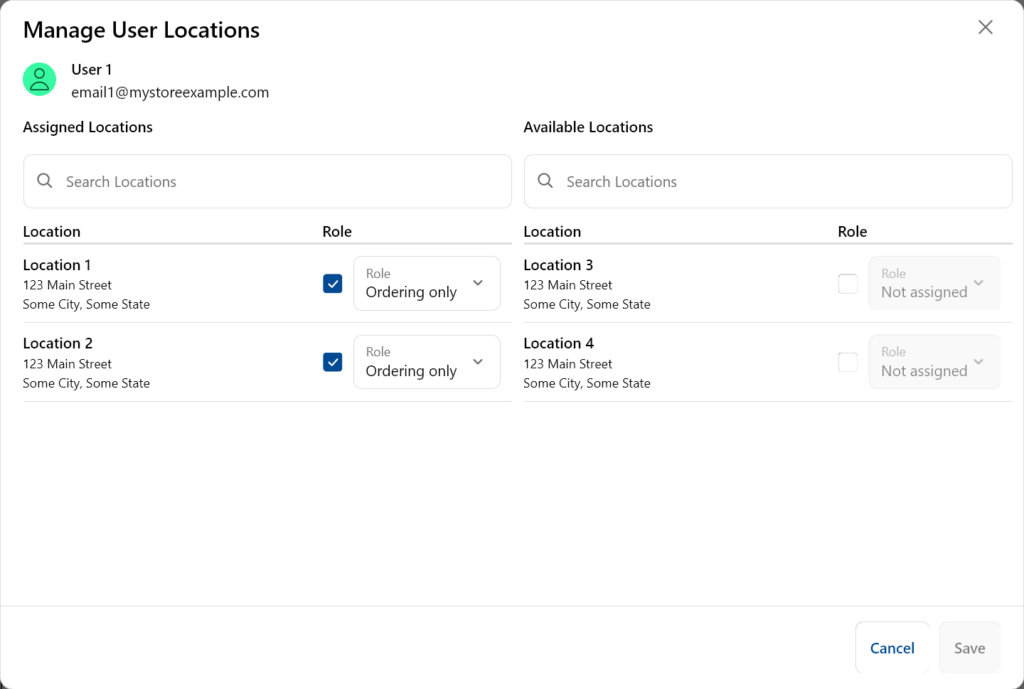
From here, you can manage a user’s permissions at your business’s locations.
To assign them to a new location, find the location you want to assign them to under “Available Locations”, check the box next to that location, and select the appropriate role.
To remove them from a location where they’re already assigned, find the location under “Assigned Locations” and uncheck the box next to the role dropdown.
To update their role at a location where they’re already assigned, find the location under “Assigned Location” and change their role in the dropdown.
When you’re done, click “Save”.
Location Management
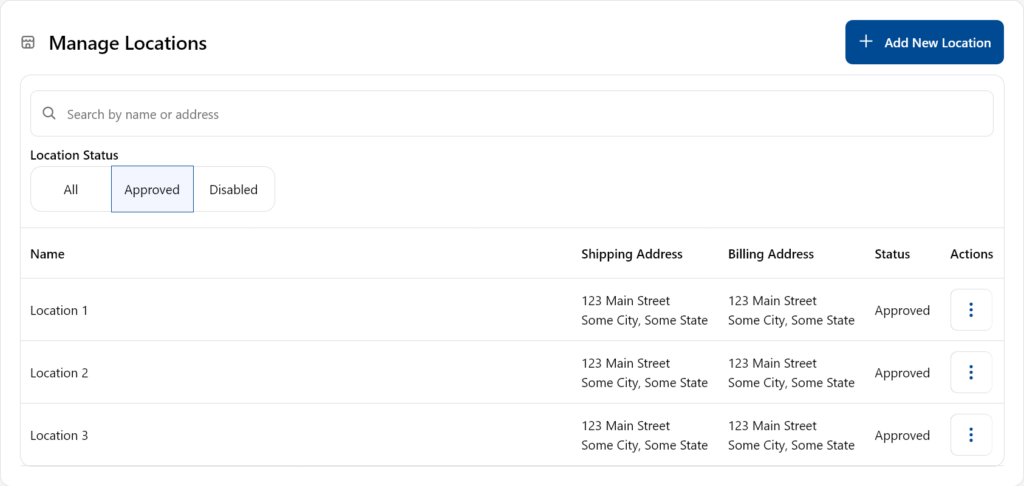
In addition to managing your customers, you can also manage your company’s locations. Open “Location Management” to see your company’s locations. Here, you will see all of your company’s locations. You can filter by status and search by location name or address.
A location can have one of the following statuses:
- Pending: a location that is waiting for the merchant’s approval to start placing orders
- Approved: a location that can place orders and have customers assigned to it
- Denied: a location where the merchant chose not to allow you to place orders
- Disabled: a formerly active location where either you or the merchant decided to disable it and remove the ability to place further orders or assign customers to it
Adding New Locations
To create a new location for your company, click “Add New Location” at the top right. In the modal that opens, enter a name for your location, an optional external ID (used for your own reference), and the shipping and billing addresses.

Note that after you create a location, its status will be set to “Pending,” meaning you cannot place orders at it or assign customers to it, and it will not appear under your active locations until it is approved by the merchant. Once the merchant has approved it, you can assign users to it using the steps in the next section.
Editing a Location
To edit a location, click the ellipsis button to the right of its status.

For a location, you can:
- Edit Location Information: allows you to rename a location (you cannot change the addresses after it is created; to do so, you will need to reach out to the merchant)
- Manage Users: assign, unassign, and update the permissions of users for this location
- Disable Location: unassign all users from this location and remove the ability to place new orders at it (note: once you disable a location, you must ask the merchant to re-enable it if you want to use it again)
Managing Users at a Location
To manage users at a location, click “Manage Users” from the ellipsis menu for that location. The column to the left is all users that already have roles at the location, while the column to the right is the users that do not yet have assigned roles at that location. You can search by name or email to find the user you’re looking for.

For Prospective Wholesalers (onboarding/applying)
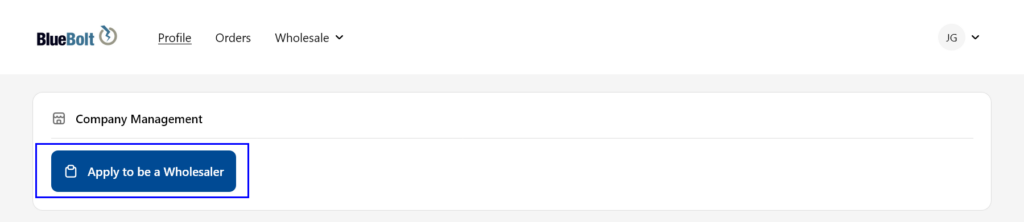
To apply to be a wholesaler, first open your profile, then select “Apply to be a Wholesaler”:
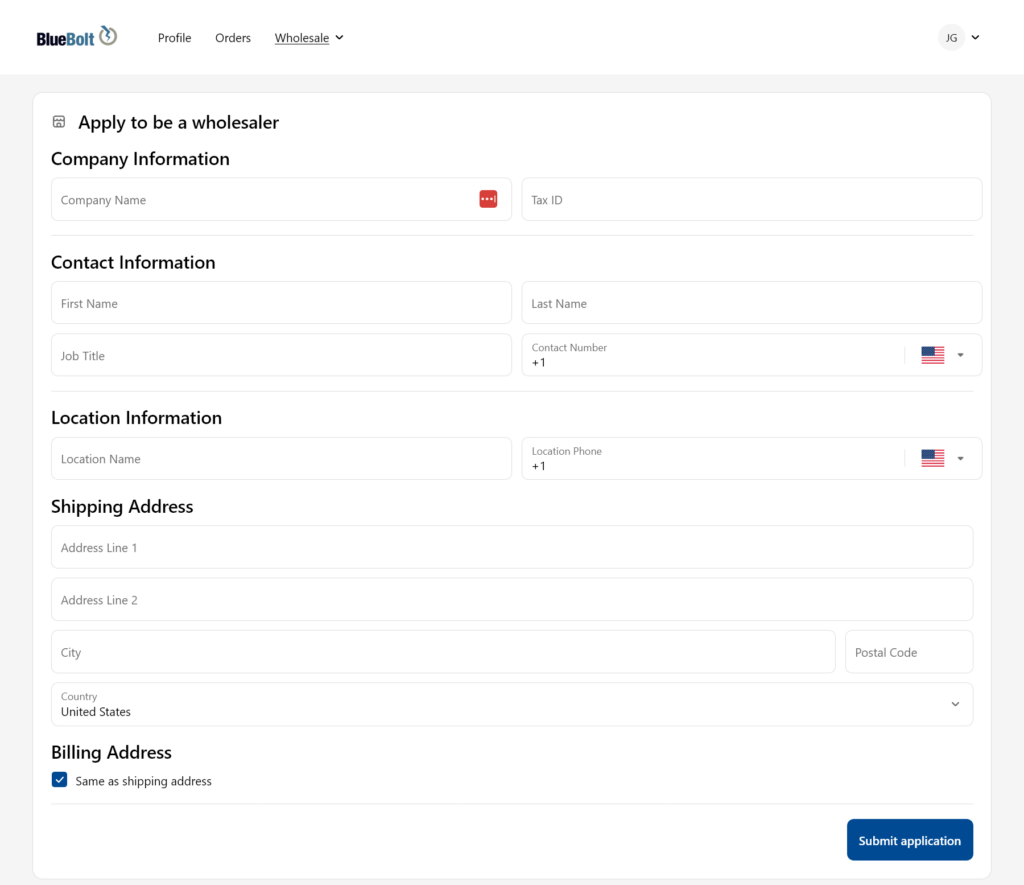
Then, fill out the form with the details for your company and its first location:
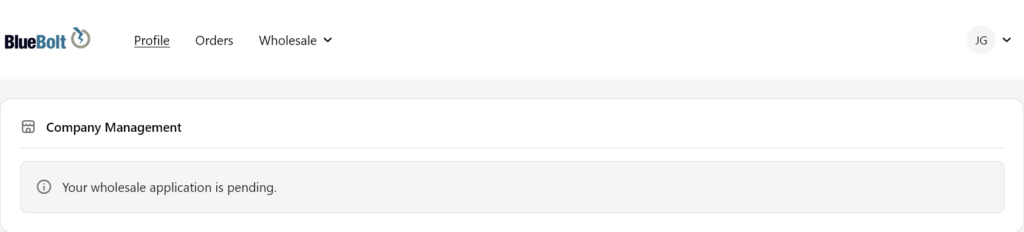
Go back to your profile page to see the status of your application:
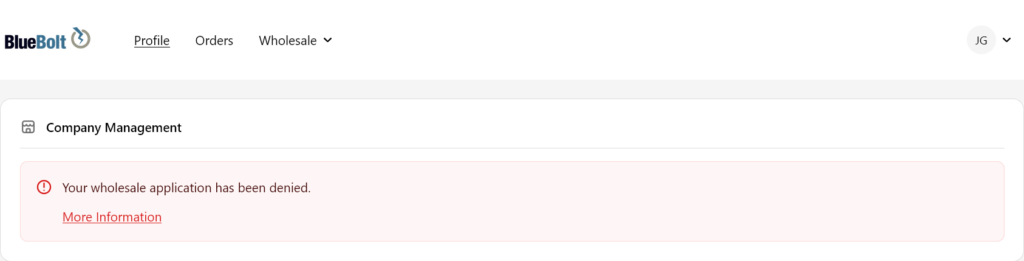
Once your application has been approved, you will see the following on your profile page:
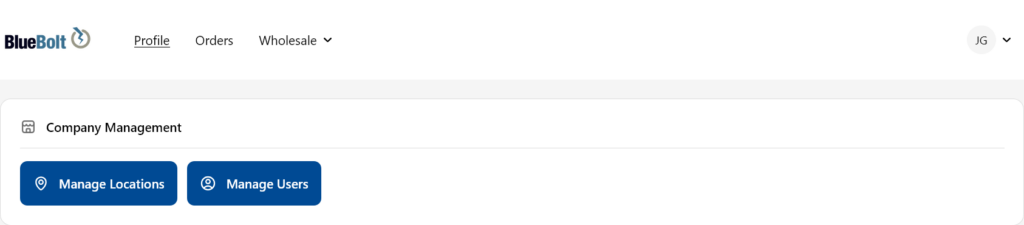
From here, you can start applying for additional locations, creating users, and assigning users to locations.
For Location Admins (Order Handling)
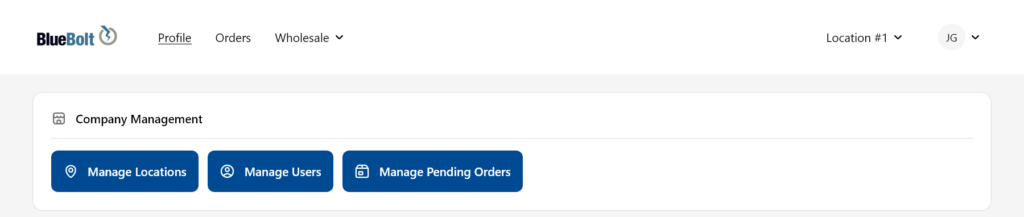
If you are set as a location admin for any of your company’s locations, you will be able to handle pending orders submitted by the assigned users at those locations.
To access pending orders, open your profile and select “Manage Pending Orders”. Note that this will only show if you are assigned as the location admin for at least one location.
You can then see all pending orders placed at locations where you are the location admin. You can filter by status (pending or denied; approved orders are visible on the “Orders” page), date, and location.

Click “More Details” to view additional information about the order, including the specific products it contains. To approve or deny an order, click “Manage”.

Approving an order will place the order with the merchant. Denying an order will move it to the “Denied” tab.